Rest the meat
After removing the roast chicken from the oven, rest it for approximately 15 minutes. Resting the meat is important as it allows the juices to reabsorb into the meat, making it juicier and more flavourful. The meat also becomes more relaxed for an easier carving experience.
Remove the legs
Place the chicken on the chopping board, legs facing you, and either use a carving fork or hold the chicken to keep it still. With a carving knife, cut between the chicken breast and leg, pulling the leg away while you cut through the joint. Repeat on the other side and serve the chicken legs separately, placing them on the serving platter.
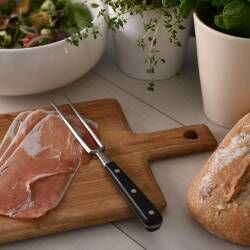
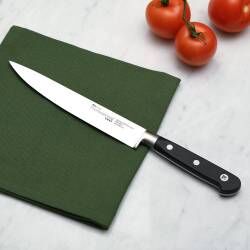
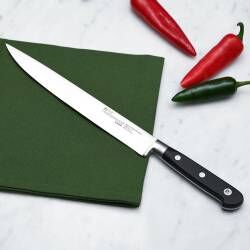
We have plenty of quality carving knives and forks available, as well as carving trays and boards which are ideal for keeping the chicken still while slicing uniform slices.
Remove the wings
Next up, take your carving knife and cut the skin between the breast and wing, pulling the wing away from the chicken and cutting through the joint. Repeat on the other side and either cut the wings in half or serve whole.
Remove the breast
With your carving knife, cut down the centre of the breastbone. You can either remove the breast whole and slice, or you can carve the breast meat in slices while it’s still attached to the bone. Use your carving fork to keep the chicken in place while slicing. Repeat for the other chicken breast.
Make a wish
When carving, don’t forget to remove the wishbone. You can either make a wish at the dinner table or pull it with someone in the kitchen.
Remove any remaining meat
You may find that there’s still plenty of meat to remove, so spend some time slicing, cutting and picking off any leftovers. Place on the serving platter or save these bits for another recipe like a chicken pasta, for example.
Save the carcass
Avoid throwing away the carcass as this can be used in a variety of other recipes. Chicken carcass is perfect for making homemade chicken stock, but can also be used for soups, gravies and sauces.
Serve
You should be carefully piling the sliced chicken, thighs and wings onto a platter as you go. Make sure to overlap the chicken slices as this can help keep the chicken warmer for longer.

 Electricals
 Coffee
 Mixers and Blenders
 Kettles and Toasters
 Cooking
 Small Appliances
 Cookware & Bakeware
 Pots and Pans
 Speciality Cookware
 Baking
 Roasting
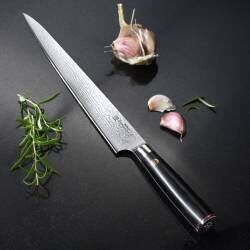
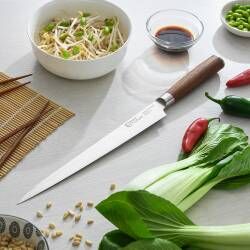
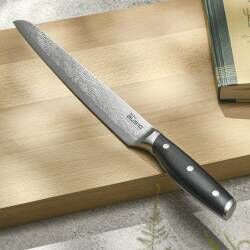
 Knives
 Knife Sets
 Single Knives
 Knife Accessories
 Tableware
 Single Items
 Serveware
 Table Accessories
 Drinkware
 Hot Drinkware
 Cafetieres and Teapots
 Drink Accessories
 Accessories
 Kitchen Utensils
 Tools and Gadgets
 Storage
 Cleaning
 Alfresco dining
 Gifting